I didn't create a photo tutorial for this card because I was in a bit of a time crunch. I'll try to give you as many details as I can.
I used the Concord & 9th Plaid background stamp to create the background. I first stamped it in navy ink. Then I went back with the thin lines and stamped those with Versamark ink. I sprinkled on gold embossing powder and melted it with my heat tool. I then cut it down to 4" x 5 1/4" I used a sponge tool and Faded Jeans Distress Oxide ink to go around all of the edges of the plaid piece. I set it aside to dry.
To create the background for the diecut shape I started by cutting it out of watercolor paper using the die from Concord & 9th's Blooms fill-ins dies. I then pressed Distress Oxide ink pads onto my glass craft mat. I used Vintage Photo and Faded Jeans. I added a bit of water and then just started smooshing the paper into the ink. I did a layer, dried it with my heat tool and repeated the process. I probably did that 3 or 4 times until I was happy. I heated it one more time until it was completely dry.
Next I stamped the beer mug stamp from Stamper's Anonymous Beer stamp set onto the smooshed watercolor paper. I used a black hybrid ink. I did place it in my Misti to stamp as I knew I would need to stamp it a few times to get a good image over the Distress Oxides. I stamped the beer mug 2 more times onto plain water color paper. Then I started to color the beer mug using Fossilized Amber, a touch of Vintage Photo and Hickory Smoke. I just squished my ink pads on my craft mat again and added water. Then I used a small paint brush to apply the ink. I did use my heat tool to dry in between layers.
Once it was all dry, I fussy cut out the entire beer mug and then just the foam. I glued the beer mug down flat to the smooshed watercolor piece. Right on top of the stamped image. Then I put foam tape on the back of the foam piece and glued this on top of the beer mug. I love the added dimension this gives.
Now I just needed a few more pieces for the card. I cut a brown piece of cardstock down to 3" x 3". I took my navy ink pad directly to the edges to create sort of a messy edge. I put foam tape on the back of the smooshed ink piece and stuck it down onto the brown square. I then glued these pieces onto the navy plaid piece. I put a little bit of navy reinker onto my mat, added a bit of water and loaded up a paint brush to make navy splatters.
While the splatters were drying, I cut another piece of the brown cardstock down to create a side fold, A2 card base. I used the sponge tool to add Faded Jeans Distress Oxide ink to all of the edges. Then I went ahead and glued the entire plaid panel down to the card base. Only one more thing needed, a sentiment! I stamped Happy Birthday with black ink using a stamp from Altenew's Faux Veneer stamp set. The sentiment is actually all in one line but I needed it to be shorter so I just cut the stamp in half. You could just mask it if you prefer not to cut your stamps. I then trimmed the white cardstock down to 2 1/2" x 1". Again, took my navy ink pad direct to the edges of the paper. Then I glued it in place. There you have it!
I think my husband is going to love it!
Have an awesome day!
~Kristina
 Tombow Mono Multi Liquid glue Shop at: SBC |
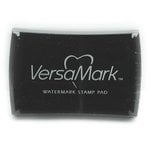 VersaMark Watermark ink pad Shop at: SBC |
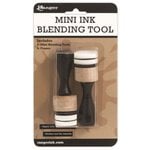 Mini Ink Blending Tool Shop at: SBC |
 Altenew Faux Veneer stamp set Shop at: Altenew |
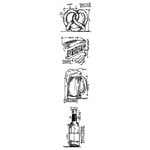 Stampers Anonymous-Tim Holtz Wine stamps Shop at: SBC |
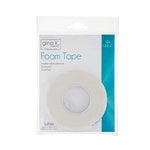 Therm O Web Foam Tape Shop at: SBC |
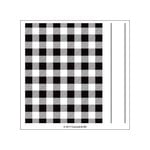 Concord & 9th Plaid Background stamp Shop at: SBC |
 Concord & 9th Blooms Fill-ins dies Shop at: SBC |
 Ranger Princess Gold embossing powder Shop at: SBC |
 Distress Oxide-Faded Jeans Shop at: SBC |
 Distress Oxide-Vintage Photo Shop at: SBC |
 Distress Oxide-Fossilized Amber Shop at: SBC |
 Mini MISTI Shop at: SBC |
 Hybrid black ink pad Shop at: SBC |
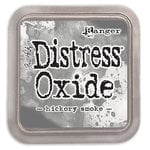 Distress Oxide-Hickory Smoke Shop at: SBC |


No comments:
Post a Comment