Hi friends! I'm here with your daily dose of crafty fun. My project today focuses on more ways to stretch your Scrappy Tails Crafts supplies. Today I'll be using the Flower Vase Pop up dies in a new way you might not have thought about. I also used Slimline Shadow Box dies and Popping Poppies stamp set.
Let's chat about my card shall we?
I picked out three different distress ink colors to use for my project. Speckled Egg, Chipped Sapphire and Dusty Concord. I grabbed a piece of watercolor paper and my ink blending tools. I started applying color with no real rhyme or reason. I just added patches of color, then added another and another. I went back through a couple times until I got a nice looking blend. I hit it with a heat tool to help the ink dry.
Next I used an anti-static tool all over the watercolor paper. I put all of the individual flowers and leaves from the Popping Poppies set onto acrylic blocks. I used Versamark ink to stamp the images. I went ahead and sprinkled white embossing powder over the panel so I could see if I had any holes to fill. I did have a few spots that were too small for the flowers or leaves so I used the little "hi" stamp from the same set. Added white embossing powder again and melted it with a heat tool. I added ink splatters as well with all 3 ink colors and I added white too.
Isn't it lovely?
Next I grabbed the two layering panel dies from the Flower Vase Pop Up set. I picked the section of the paper I liked best and cut out five panels. Then I took the smallest large panel die from the Slimline Shadow Box dies and cut a piece of white Neenah cardstock. I glued the watercolor panels onto the white slimline panel.
I took the next larger slimline die and cut a purple panel. I glued the white panel on top. Then I added both layers onto a blue-green mini slimline card base. It measures 6 3/8"x 3 3/8".
From the same Slimline Shadow box dies set, I took the hello and hellow shadow layers and cut them out. I glued the white letters onto the blue-green shadow layer. I added foam tape to the back layer and added it to the card. For the finishing touches I carefully added Crystal Stickles on the white letters. I didn't cover the entire letters. This way it almost looks like an even skinnier word die! A few blingy stickers and this mini slimline card is all done!
Thanks for sticking with me to the end of this post and I hope you've been inspired! Don't forget to check out all of the great products in the Scrappy Tails Crafts store. You can use the code STCBLOG10 for 10% off your order!
~Toodles!
Kristina
Supplies used:Compensated affliate links may be used - I may receive a small commission at no additional charge to you should you make a purchase using my link.
 Teflon bone folder Shop at: EH |  Slimline Shadow Box dies Scrappy Tails Crafts Shop at: SBC |  Popping Poppies stamps Scrappy Tails Crafts Shop at: SBC |  Speckled Egg Distress Ink Shop at: SBC | EH |
 Dusty Concord Distress Ink Shop at: SBC | EH | 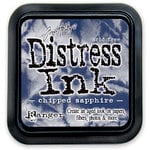 Chipped Sapphire Distress Ink Shop at: SBC | EH |  Anti-Static Tool EK Success Shop at: SBC | EH |  Neenah Solar White Shop at: SBC | EH |
 Tombow Mono Multi Liquid glue Shop at: SBC | EH | 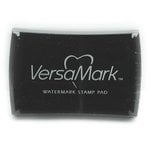 VersaMark Watermark ink pad Shop at: SBC | EH | 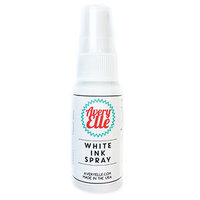 White Ink Spray - Avery Elle Shop at: SBC | EH | 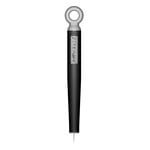 Tonic Studios-Retractable Craft Pick Shop at: SBC | EH |
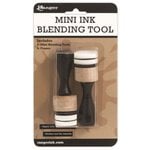 Mini Ink Blending Tool Shop at: SBC | EH | 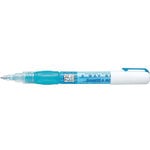 Zig 2-way glue pen Shop at: SBC | EH | 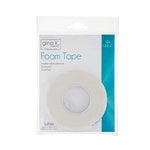 Therm O Web Foam Tape Shop at: SBC | EH | 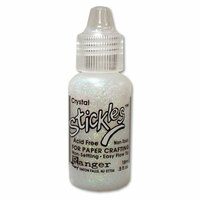 Crystal Stickles Shop at: SBC |
 Canson Watercolor paper Shop at: EH |  White embossing powder Ranger Shop at: SBC | EH |  Replacement blending foam - Ranger Shop at: EH | 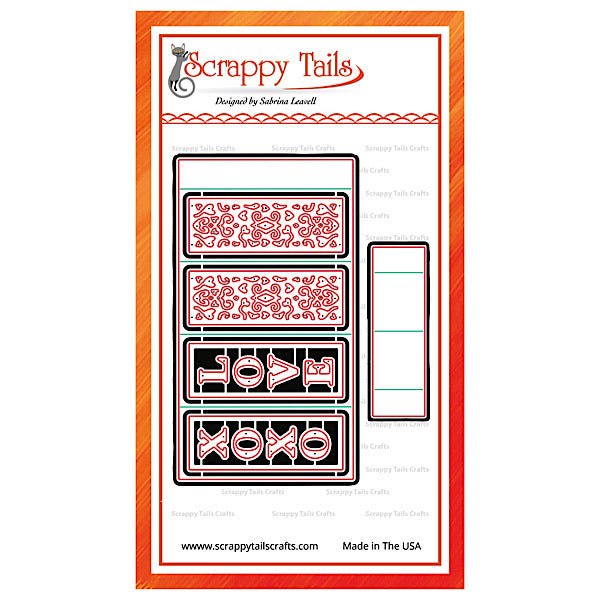 Flower Vase Pop Up dies - Scrappy Tails Crafts Shop at: SCT |


No comments:
Post a Comment