Hiya friends! I'm so glad you are here for my next Scrappy Tails Crafts project! My card for today is something I don't normally do. It's a shaker card! And not just that, it's a slimline shaker!!
When I first started this project, I didn't have an end game. I just started playing around. I ink blended Wilted Violet, Dusty Concord, Seedless Preserves and Victorian Velvet distress inks onto a panel.
Then I took Shabby Shutters, Peeled Paint, Mowed Lawn and Rustic Wilderness distress inks and blended on another panel.
After that, I splattered the purple panel with silver paint. Then I cut as many pieces out of the panels using the Outline Poinsettia dies and Assorted Christmas Leaves dies that I could.
Then I cut more pieces out of silver cardstock. I put all of the pieces together mixing the foil pieces with the distress ink pieces.
It was at this point I decided I wanted to do a shaker. I cut a piece of white cardstock down to a large slimline size. I cut it out with a window slimline die (Whimsy Stamps Slimline Marquee). Then I dry embossed the panel with the Slimline Brick Background die. Next I splattered it with Hickory Smoke and Dusty Concord distress oxides, as well as silver paint. I also used a blender brush and the Hickory Smoke to go around all of the edges, openings and raised parts of the panel. I just didn't want it to be such a stark white.
Next step was to create a shaker. I'm not going to go into great detail as I'm sure we've all seen it before. I put a layer of acetate down, then foam tape, filled the windows, and finished it with another piece of acetate.
I adhered the whole shaker panel to a white, slimline card base.
Now I got out all of my flower bits. I played around with it for a bit until I found the layout I liked.
The poinsettias were adhered in place with foam tape. This left me room to glue down the leaves and twigs flat to the panel.
Now I just needed a sentiment! I used the "thinking of you" word dies from the Slimline Pop Up Box die set. I ink blended a scrap of white cardstock with the Dusty Concord distress oxide ink. Then I remembered to put Stick It adhesive on the back. This makes it so much easier to ad the little pieces onto my panel!
And that's it! Thanks SO much for hanging out with me today! Remember to use code STCBLOG to get 10% off at the Scrappy Tails Crafts store!
~Kristina
Compensated affliate links may be used - I may receive a small commission at no additional charge to you should you make a purchase using my link.
 Teflon bone folder Shop at: EH |
 Slimline Pop Up Box Gift card die - Scrappy Tails Shop at: SCT |
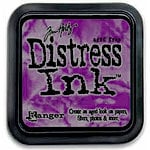 Dusty Concord Distress Ink Shop at: SBC | EH |
 Neenah Solar White Shop at: SBC | EH |
 Tombow Mono Multi Liquid glue Shop at: SBC | EH |
 Tonic Studios-Retractable Craft Pick Shop at: SBC | EH |
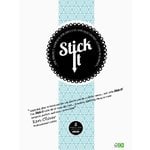 Stick It Adhesive sheets Shop at: SBC | EH |
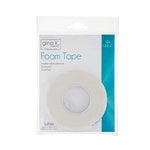 Therm O Web Foam Tape Shop at: SBC | EH |
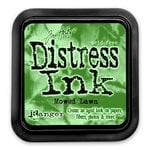 Mowed Lawn Distress Ink Shop at: SBC | EH |
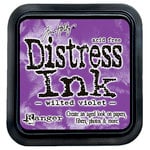 Wilted Violet Distress Ink Shop at: SBC | EH |
 Victorian Velvet distress ink Shop at: SBC | EH |
 Slimline Brick Background die - Scrappy Tails Crafts Shop at: SCT |
 Shabby Shutters distress ink Shop at: SBC | EH |
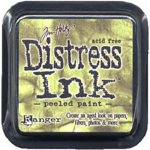 Peeled Paint distress ink Shop at: SBC |
 Assorted Christmas Leaves dies - Scrappy Tails Crafts Shop at: SCT |
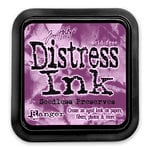 Seedless Preserves distress ink Shop at: SBC | EH |
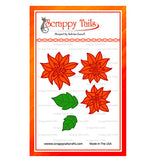 Outline Poinsettia dies - Scrappy Tails Crafts Shop at: SCT |
 Acetate - Crafter's Companion Shop at: EH |
 Dusty Concord - Distress Oxide Shop at: SBC | EH |
 Blender Brush - Studio Katia Shop at: EH |
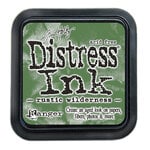 Rustic Wilderness - Distress Ink Shop at: SBC | EH |


No comments:
Post a Comment