Welcome back to my blog! It's time for another Scrappy Tails Crafts project! Have you seen all of the fantastic new products in the Snow Globe Flurries holiday release?? It's jam-packed with holiday goodness. If you can't wait and want to check it right now, head HERE.
It was so hard to decide what to work with first but I absolutely LOVED the Winter Snow Trees dies. I thought they would be perfect for making a set of cards! Let's take a sneak peek at the set.
Alrighty, let's jump into a brief tutorial.
Step 1: Cut lots of trees out of assorted colors. My choices were vintage inspired.
Step 2 : Cut lots of trees out of white cardstock.
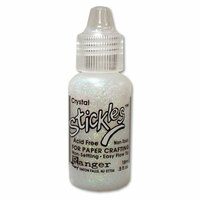
Step 3: Glue tree layers together. Add sparkle to the "snow" areas and let dry.
Step 4: Create textured backgrounds. I used the Slimline Brick Background die to cute out a thick piece of cardstock. Then I used embossing paste through it. As soon as it was dry, I splattered each piece with coordinating color splatters and metallic paints.
Step 5: Adhere backgrounds to solid, coordinating cardstock. For the panel layers I used the Slimline Pop Up Box dies.
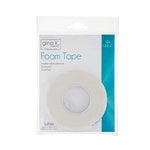
Step 7: Add sentiment and complete cards. I used the Hot Foil Bold Christmas Sentiments and foam tape on the back.
Step 8: Admire your handiwork!
Until next time,
~Kristina
Compensated affliate links may be used - I may receive a small commission at no additional charge to you should you make a purchase using my link.
 Teflon bone folder Shop at: EH |  Slimline Shadow Box dies Scrappy Tails Crafts Shop at: SBC |  Neenah Solar White Shop at: SBC | EH |  Tombow Mono Multi Liquid glue Shop at: SBC | EH |
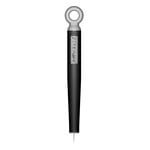
 Tonic Studios-Retractable Craft Pick Shop at: SBC | EH |  Therm O Web Foam Tape Shop at: SBC | EH |  Crystal Stickles Shop at: SBC | EH |  Slimline Brick Background die - Scrappy Tails Crafts Shop at: SCT |
 Silver Lining - Nuvo Drops Shop at: SBC | EH |  Hot Foil Bold Christmas Sentiments - Scrappy Tails Shop at: SCT |  Winter Snow Trees - Scrappy Tails Crafts Shop at: SCT |


